I've made the leap. I'm transferring this blog over to wordpress. I've been debating this for a while. I also changed my name - same me, same food obsession, just a different setting! I'm still learning the wordpress ropes and updating some of my links so bear with me! Hope to see you there!
Peanut Butter and Ginger
Thursday, August 12, 2010
Tuesday, August 10, 2010
Chocolate Pane Francese
Yesterday during some downtime at work I stumbled across a recipe for a heavenly treat. It was over at Chocolate and Zucchini, but, though it looked so deliciously decadent, a sourdough starter is a teensy bit out of my comfort zone. However I was not to be deterred! Armed with this awesome bread idea, I turned to that bread baking cookbook my mom gave me to suit my novice bread making skills!
I took the Pane Francese recipe and altered it a bit to include the ingredient of the hour! Since I had never made such a bread before, I went light on the cocoa powder and added in some chopped up bittersweet chocolate.
We were having issues with our internet service so we had to wait around all day for the company to come out and reattach the apartment to the telephone line... Then we had to reset the router... Only the determined bread maker can maneuver around the modem and router that have taken up a temporary residence under my mixing cart!

Haha!
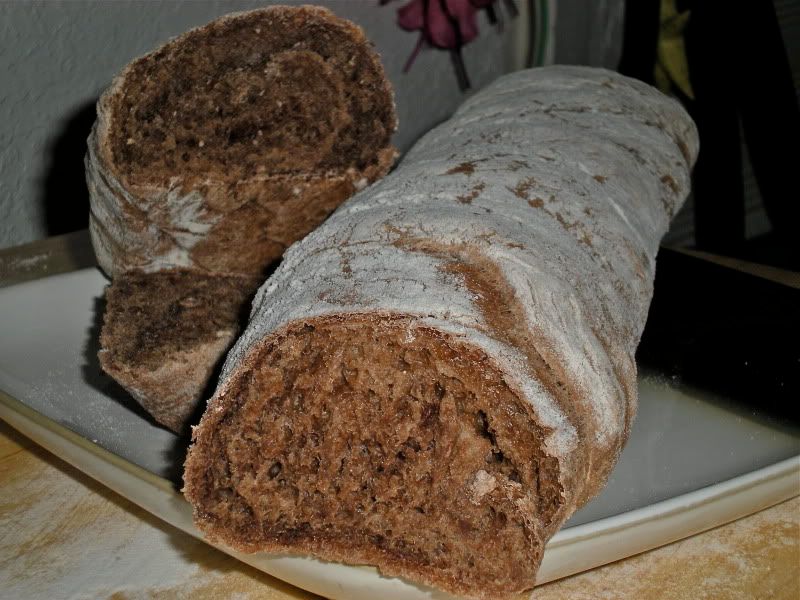
Let me say this: the bread smelled utterly amazing while it was baking. Kyle and I were chomping at the bit to try it. Normally I can control myself and at least wait until the next morning to slice into a loaf - but not this bad boy! It made it about 5 minutes before the knife came out and the beautiful crust was broken.
Oh. My. God.
This bread was heavenly. Chocolatey but not sweet, crusty on the outside and soft on the inside. Wow. Perfection in loaf form.
This is going to be a staple in my house for sure.
Chocolate Pane Francese
1 package active dry yeast
1/4 cup warm water
3 cups all purpose flour
2 tablespoons cocoa powder
1 teaspoon turbinado sugar
1/2 teaspoon kosher salt
3/4 cup ice cold water
1/4 cup skim milk
1 ounce bittersweet chocolate, roughly chopped
In a small bowl, sprinkle yeast over warm water, mix with fingers and let stand until foamy. In stand mixer, using hook attachment, combine flour, cocoa, sugar and salt. Add yeast mixture, milk and water then beat on medium speed until well blended, adding bittersweet chocolate about halfway through. On low speed, beat the dough until elastic and shiny, adding flour by teaspoons if the dough is too sticky. The dough should be sticky, but touchable.
Cover bowl with plastic wrap, a towel or the lid to a large bowl (as long as the dough can breathe it's all good) and set in a warm place to rise until doubled in size, about 1 1/2 hours.
Sprinkle dough with flour and turn out onto a well floured surface. Knead by hand for a few minutes to incorporate the flour and make the dough easier to work with. Cut the dough in half and roll each half into long rectangles. Starting at the short side roll dough tightly, pressing down each seam as you roll. They will be long loaves, so don't worry!
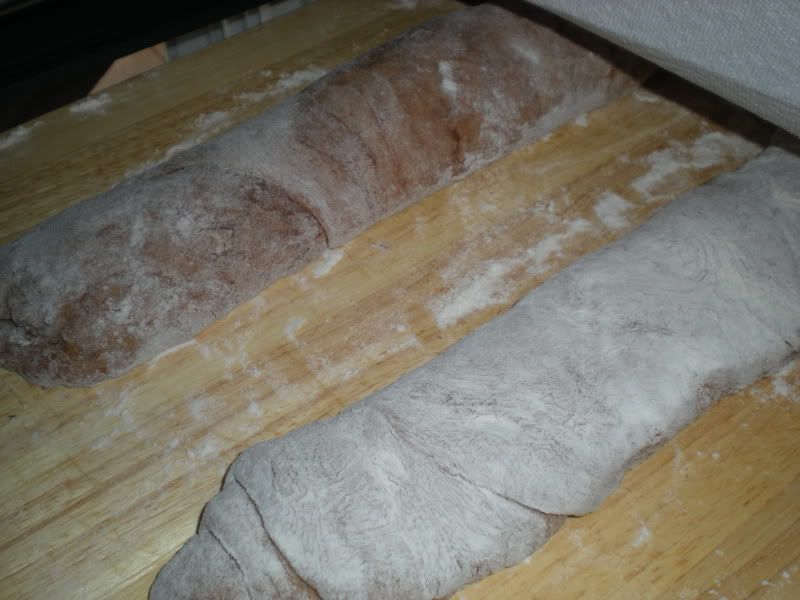
Cover lightly and allow loaves to rise for 30 minutes.
Preheat oven to 475. Transfer loaves to greased cookie sheet (or sheets in my case since my oven is so tiny). Set aside for 15 minutes to allow them to get slightly puffy.
Place bread in the oven and reduce heat to 425. Bake 20 minutes or until crust is nice and crispy feeling. Turn off the oven, crack the door and allow bread to sit in the cooling oven for 5-10 minutes. Remove from oven and immediately transfer to a cooling rack. Then DIG IN!
Basilicious
Mmm... summer. One of the best things about summer is the availability of all the fantastic fresh herbs everyone seems to grow! Amanda's parents have mint in their yard, Annie's parents have jalapenos (ok not really an herb but delicious all the same) and someone happened to bring in some freshly picked basil to Annie the other day. Thankfully she was willing to share!
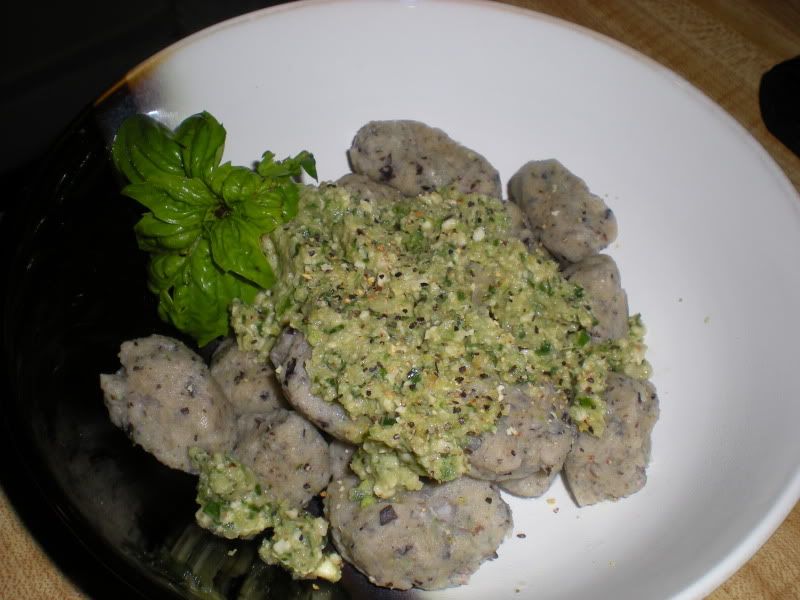
Inspired by this awesome surprise and the tofu gnocchi I had already tried from Peas and Thank You, I decided to whip up a batch of what I like to call Black Bean and Basil Dumplings. I was much too lazy to wait for the dough to get cold enough to roll into snakesand cut into tiny pieces. I was just patient enough to let the dough cool its heels in the freezer for about 20 minutes. They were just hard enough to stand up to boiling by then, so I just kinda rolled them into rustic balls and squashed them a bit.
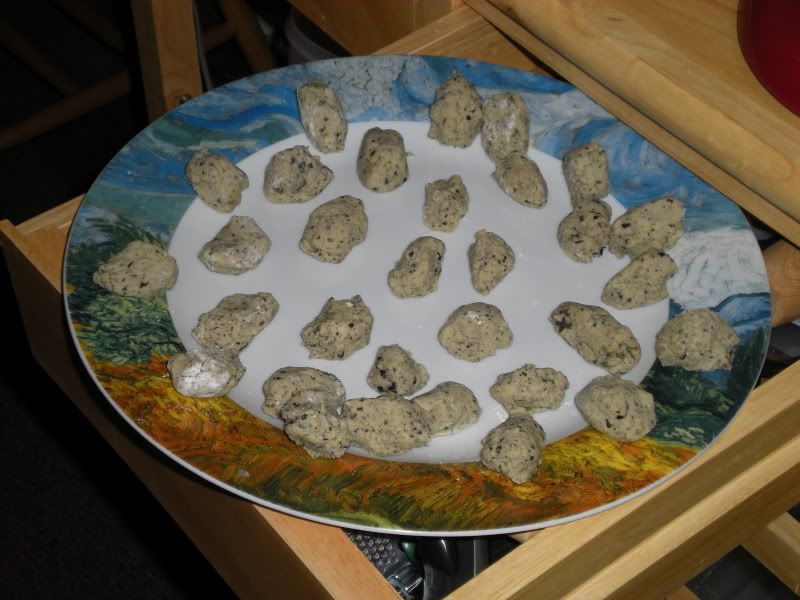
I boiled them in a pot of slightly salted water and covered them with a Cucumber Basil Pesto-type sauce. They came out pretty damn tasty! And they were mega satisfying! I will definitely be making these again and trying out different types of beans.
Kyle just brought me Cranberry Beans. He also restocked my adzuki beans supply. Maybe I can do an adzuki bean gnocci with a Japanese flavored pesto... we'll see where the summer winds blow me!
Black Bean and Basil Dumplings
1/2 cup black beans
1/3 cup cannellini beans
1 large clove garlic
1/2 large jalapeno, seeded
1/3 cup fresh basil
1 egg
1/3 cup all purpose flour
1/2 cup brown rice flour (you could use a different flour here)
1 tablespoon apple cider vinegar
1 tablespoon water
Salt and Pepper, to taste
In a food processor, combine beans, garlic, jalapeno, basil and egg until well combined. Add in flours and give it a whirl again. Add vinegar, water, salt and pepper and process until a dough begins to form. Transfer into a container and place in the freezer for at least 20 minutes or until firm enough to handle.
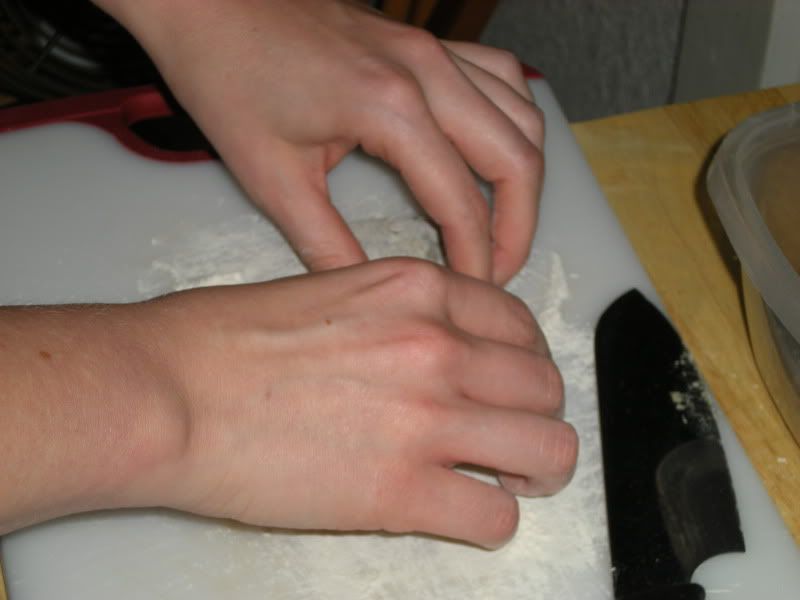
Break apart pieces of dough, rolling them lightly in flour until you form a bunch of tiny dumplings, or large dumplings if you prefer. Bring a pot of water to a boil. Add salt, then place about 1/3 of the dumplings in at a time, boiling until they float for 2 minutes. Serve plain, with a sauce or even just melted butter!
I opted to serve these with a delicious "pesto" I made. In it was:
- a whole cucumber
- half a jalapeno, seeded
- 2 ounces asiago cheese
- 1/4 cup toasted walnuts
- a dash of lemon pepper
- a palm full of basil leaves
- 2 tablespoons olive oil
Mmm... YUM!
Sunday, August 8, 2010
Good Fortune
Happy Wedding Season! It seems like everyone chooses to get married at this time of year. You know what I mean, the ungodly hot, sticky, melt into a puddle season. Fortunately for my coworker Megan, her wedding day was a cool mid-80's day! She looked so happy and so pretty! Here's the gang from the bank!

I wanted to do something unique and nontraditional for a wedding present. I get really bored giving the same things all the time or writing out a check. I racked my brain for a few days trying to figure out what on earth I could do!
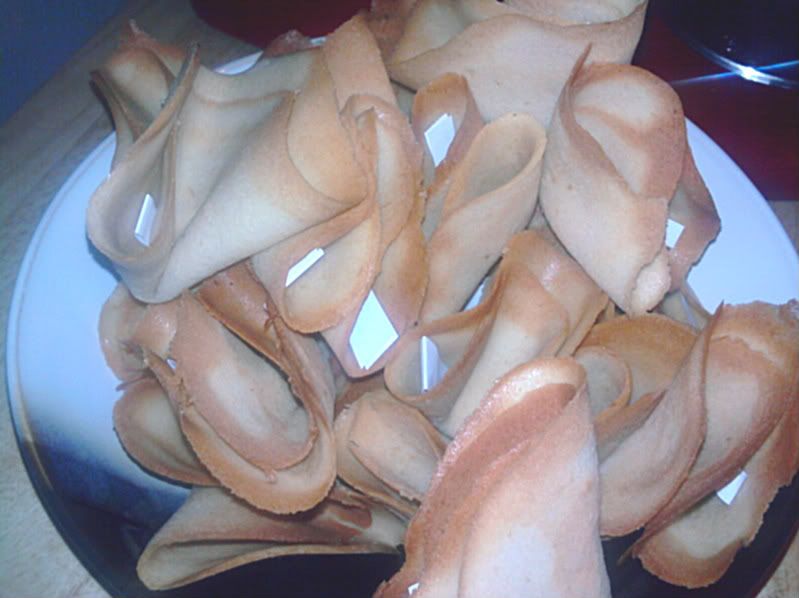
Then it hit me! I could make personalized fortune cookies! With Friends quotes inside! Megan loves Friends (well, who doesn't really?) and I figured she and the hubby could curl up on the couch and watch a few episodes while chowing the cookies! Unfortunately it didn't really hit me that they were going on their honeymoon the NEXT day and therefore wouldn't eat the cookies for a week. Oops! I hope they held up!
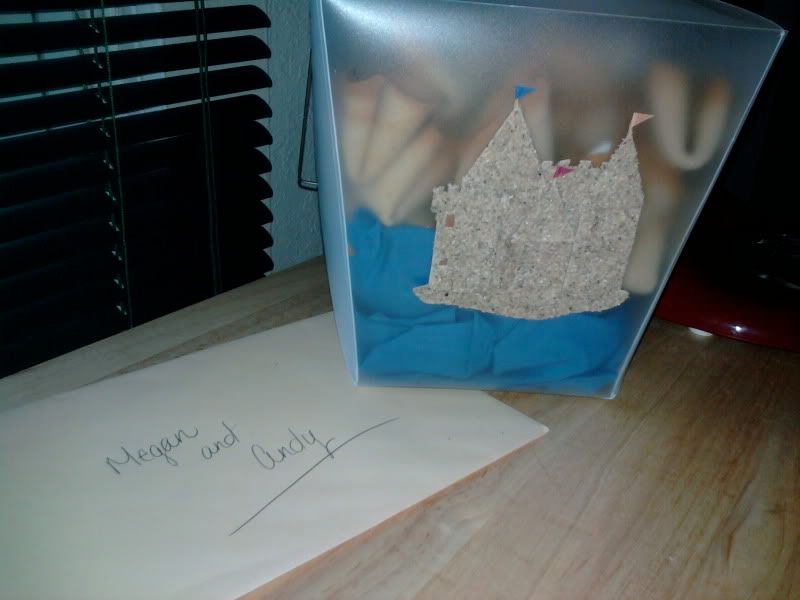
**They held up great! A little on the softer side, but the flavor was still awesome! After Megan figured out what was inside she was so excited! Hooray for personalized gift-giving!**
I searched online and found a great recipe on allrecipes.com. I set to work with a practice batch a few nights before the event. They were tasty little doodads! After a few batches I figured out I had been making them too thick, which explained why they kept cracking in the middle when I folded them. Once I got the consistency right these were super simple to make, though a tad time consuming. I only made 2 cookies at a time in the oven since they cool so quickly.
They were a HUGE hit at work! Everyone I offered them to was impressed and took one!They sound intimidating, but they're easy as pie! Well.. easier than pie I think. I haven't really tackled that milestone yet. But don't be scared of these cookies, try them for yourself and learn how to impress your coworkers with your baking prowess!
Fortune Cookies
2 egg whites
1/2 cup turbinado sugar
1/3 cup butter, melted and cooled
1/8 teaspoon vanilla extract
1/8 teaspoon almond extract
2/3 cup all purpose flour
1 tablespoon plus 1 teaspoon water
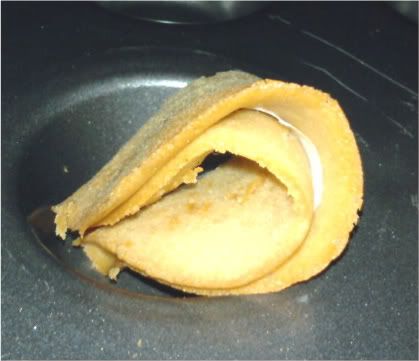
Preheat oven to 375. Grease a cookie sheet and have fortunes all printed or written out, cut up and ready to go. Using whisk attachment on standing mixer, whip egg whites and sugar on high speed until frothy. Reduce speed to low and add in butter, extracts, water and flour, mixing well after each addition. Consistency should resemble something like a thin pancake batter. Spoon the batter into roughly 3-inch circles onto prepared cookie sheet. I found that the thinner the circles were, the less likely the cookies were to crack when folded. That seems to be the most important part of the whole process. That and working quickly...
Bake the cookies 5-7 minutes or until the edges begin to brown slightly. Remove from oven, loosen cookie from the sheet with a thin spatula, place message in the center and fold in half. Fold the ends of the half together into a horse shoe and set in a muffin tin to allow cookies to cool and keep their shape. Repeat until all the batter is gone!
Saturday, August 7, 2010
Bread Mania
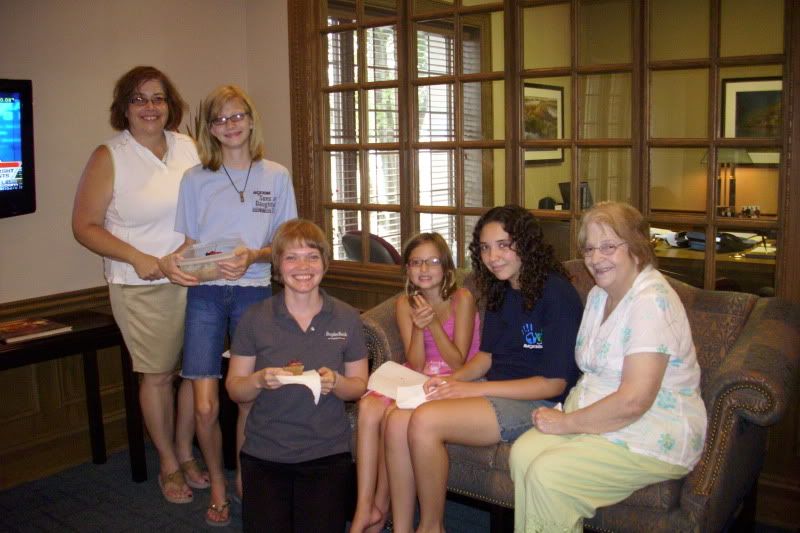
Like I mentioned earlier, it has been a BUSY month. My 27th birthday was a few weeks ago and my adorable cousins came in from out of town to surprise me at the bank!
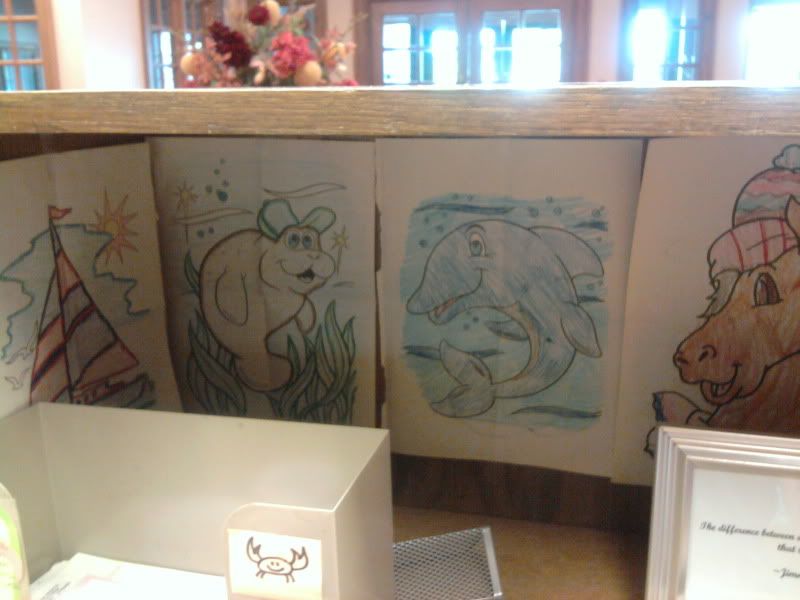
They colored pictures, which I hung up by my computer.
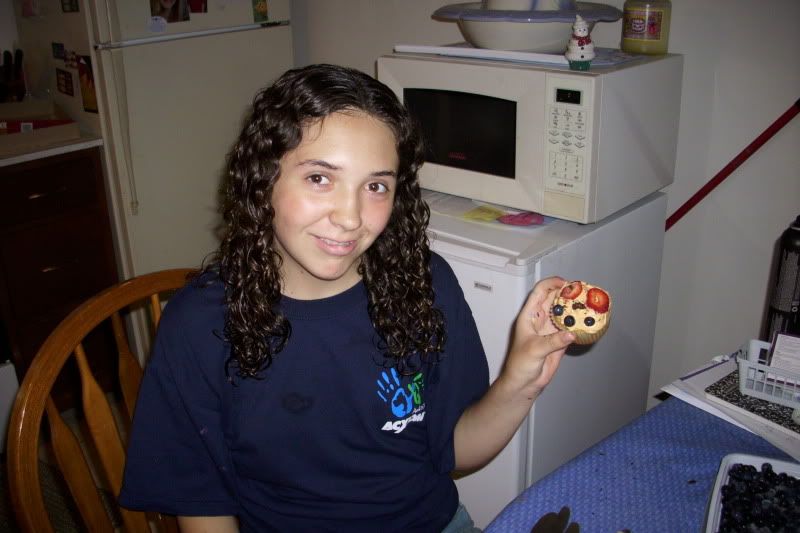
They spent all afternoon baking cupcakes and brownies, which they decorated with fresh fruit, frosting and dark chocolate they shaved themselves! Mom and Grandma helped a little, of course!


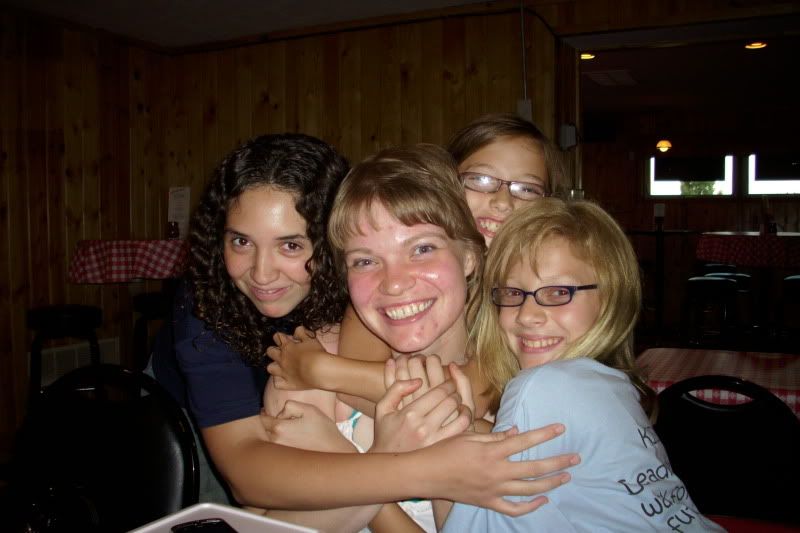
And shared lots and lots of hugs!

We all went out to dinner that night, the girls, Mom, Dad and Grandma!


The girls spent the night with me, sleeping over in my itty bitty apartment. I forgot how much fun sleepovers were! We ate spaghetti (with my Grandma's delicious sauce), painted our fingernails and toenails (with only minor spillage), and walked to Dairy Queen for some much needed deliciousness!
The next night was spent at my mom's with pizzas on the grill along with spaghetti pie for dinner. The girls also put on a talent show they had been rehearsing for 3 nights!
It was a fantastic surprise brilliantly organized by my Mom, Grandma and Aunt. It was the best birthdays I've had in a long, long time!
I love you guys!
That weekend my mom gave me one of her old bread making books. Since then I've been trying my hand at breads, which is why I haven't been posting too many recipes. I still don't have a recipe today; the rye bread I made that was so delicious was just too crumbly.
Something I need to work on. It toasts up wonderfully, but it's a bit dangerous to grab out of the toaster!
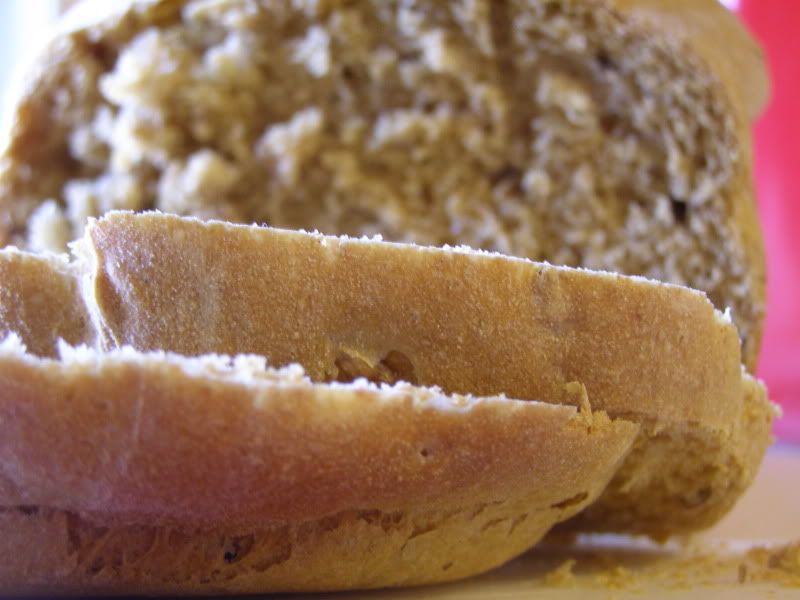
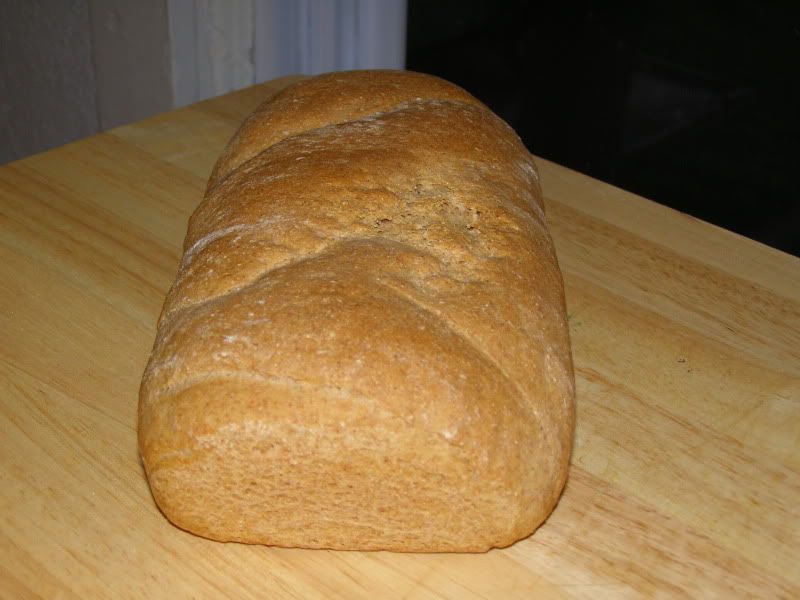
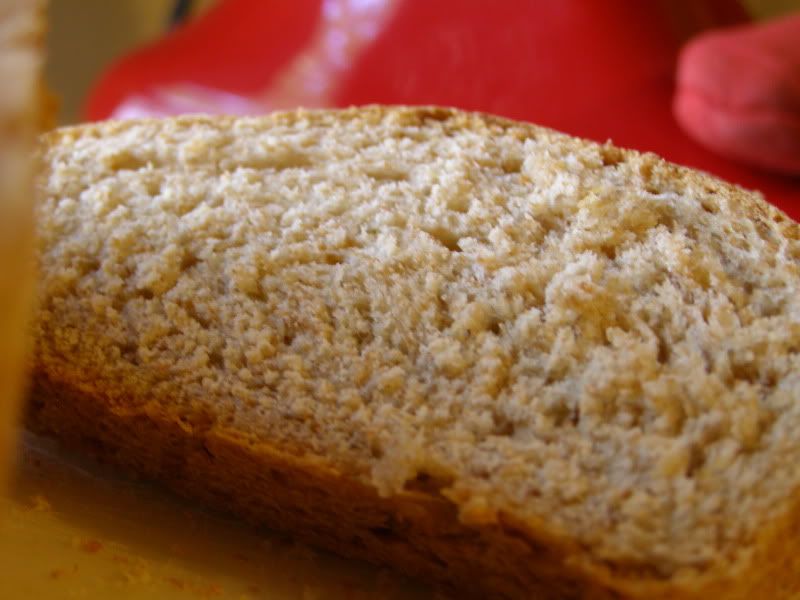
I also did a retake on my Turbinado Wheat Bread, using some lime zest and reducing the sugar. It wasn't fantastic, too tart, but it sure looked pretty!
I love making bread, it's so very therapeutic. Plus I'm not as tempted to eat the batter! When I find a truly fantastic bread recipe I will definitely post it, don't you worry!
They colored pictures, which I hung up by my computer.
They spent all afternoon baking cupcakes and brownies, which they decorated with fresh fruit, frosting and dark chocolate they shaved themselves! Mom and Grandma helped a little, of course!
And shared lots and lots of hugs!
We all went out to dinner that night, the girls, Mom, Dad and Grandma!
The girls spent the night with me, sleeping over in my itty bitty apartment. I forgot how much fun sleepovers were! We ate spaghetti (with my Grandma's delicious sauce), painted our fingernails and toenails (with only minor spillage), and walked to Dairy Queen for some much needed deliciousness!
The next night was spent at my mom's with pizzas on the grill along with spaghetti pie for dinner. The girls also put on a talent show they had been rehearsing for 3 nights!
It was a fantastic surprise brilliantly organized by my Mom, Grandma and Aunt. It was the best birthdays I've had in a long, long time!
I love you guys!
That weekend my mom gave me one of her old bread making books. Since then I've been trying my hand at breads, which is why I haven't been posting too many recipes. I still don't have a recipe today; the rye bread I made that was so delicious was just too crumbly.
Something I need to work on. It toasts up wonderfully, but it's a bit dangerous to grab out of the toaster!
I also did a retake on my Turbinado Wheat Bread, using some lime zest and reducing the sugar. It wasn't fantastic, too tart, but it sure looked pretty!
I love making bread, it's so very therapeutic. Plus I'm not as tempted to eat the batter! When I find a truly fantastic bread recipe I will definitely post it, don't you worry!
Subscribe to:
Posts (Atom)