Monday, May 31, 2010

Bluebeery Bread

I finally bought it!


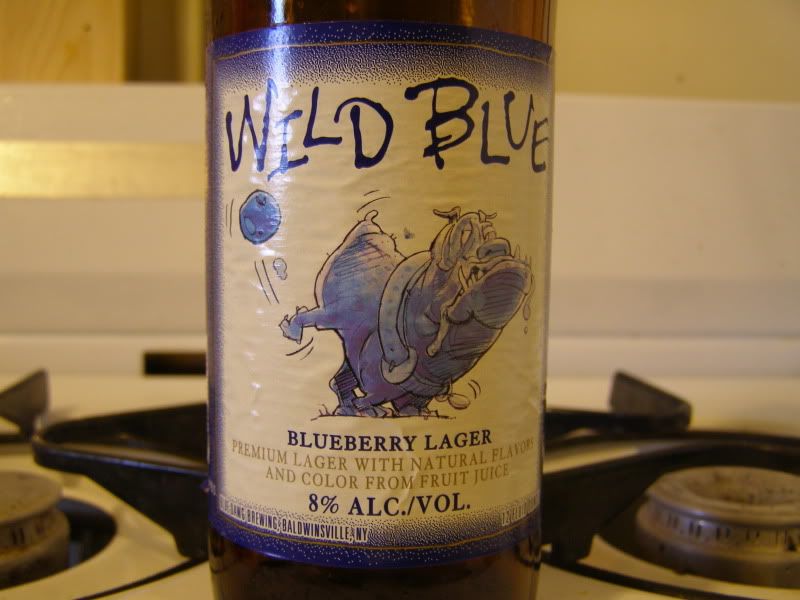
The awesome Wild Blue beer of my dreams! Blueberry flavored beer! Mmm!!

Yeah I know, I hadn’t heard of it before either. But, you see, over at Sugar Plum, there is an awesome recipe for Brewberry Brownies. Since I read that post about a month ago, I’ve had a taste for the elusive beer. I finally discovered that my local Ultra (Skultra to those of us that live around here haha) carries it. I got the LAST CASE on the shelf.

Go me!


I wasn’t really in the mood to make brownies, so I decided on beer bread. I used a recipe from my Grandma’s Best cookbook, swapping out a few herbs for ones I thought would go best with the exotic beer.

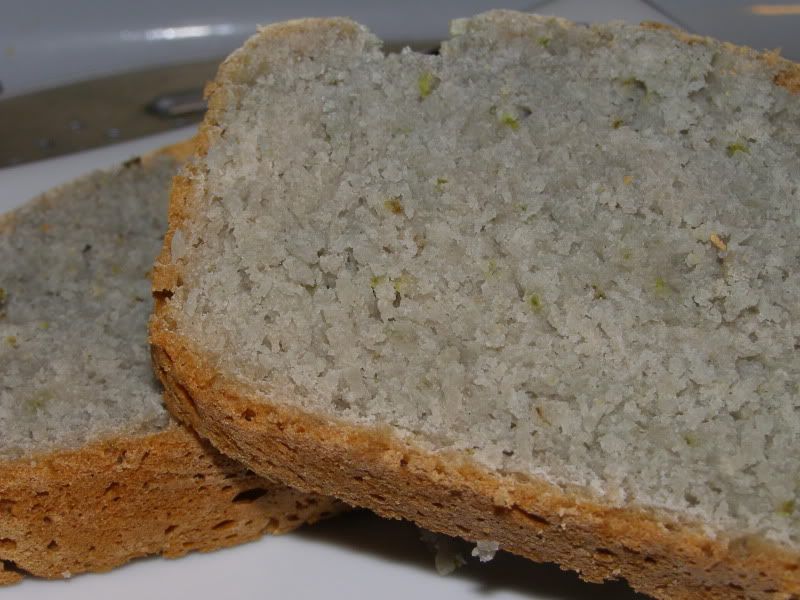
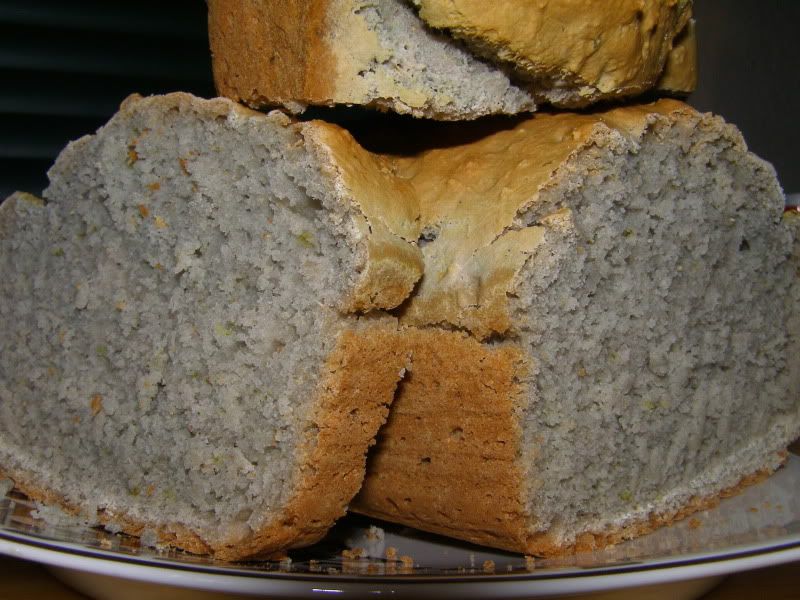
It smells incredible while baking and turns out nice and crusty on the outside while wonderfully moist and blueberrylicious inside!


Bluebeery Bread
2 3/4 cups all purpose flour
2 tablespoons sugar
2 tablespoons baking powder
1 teaspoon kosher salt
1/2 teaspoon sage
1/4 teaspoon ground ginger
1 12-oz bottle Wild Blue beer

Preheat oven to 375 degrees. Grease a loaf pan with butter and set aside. Mix together flour, sugar, baking powder, salt, sage and ginger. Add beer and mix well. Pour batter into loaf pan and bake for 50 minutes. Let stand for 10 – 15 minutes and remove from loaf pan to cool completely.

Challah Swirl


Happy long weekend to you all! I love this time of year. Everyone fires up their grills and cooks up some awesome grub, Bobby Flay style! I love Bobby Flay, he's so fun to watch. I caught his story on that "Behind the Chef" thing on the Food Network one day, such an amazing story, too. You should try to watch it sometime!

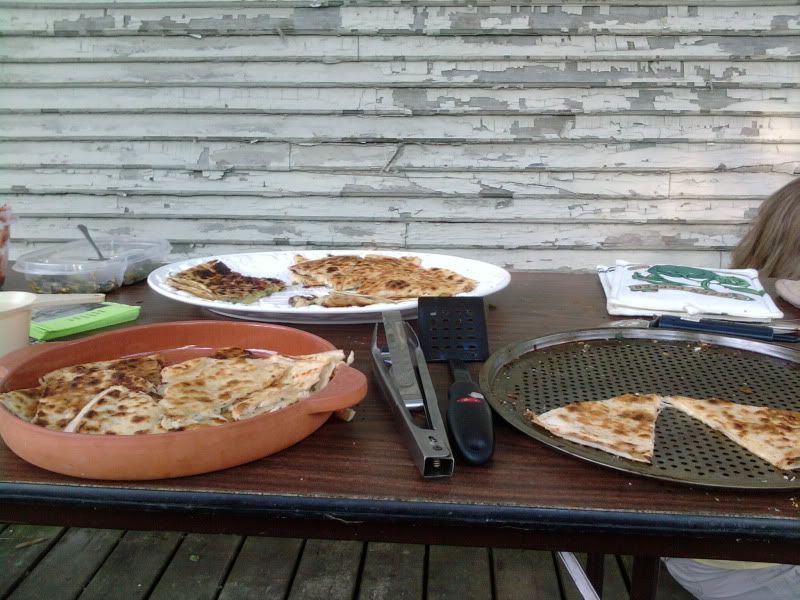
Sadly I don't own a grill. I know enough people that do have one to sustain me for a while I believe. =) Such as my parents with their awesome grilled quesadillas!


My recipe has nothing to do with grills or meat, however. Oooh I just got an idea. When I get my own grill I could bake it in there! Perhaps it would first be a better idea to learn to not burn a hot dog on the grill as my first outdoor chef-ing experience..

I've been searching for a bread recipe that doesn't seem too complicated for my novice bread-making hands to conquer. After getting an email about 55 Knives, a blogging cookbook that was put together and just came out for download, I noticed one contribution was from a blog named Sticky, Gooey, Creamy, Chewy. I giggled at the name and browsed around her site. I stumbled upon a post for Cinnamon Raisin Swirl Challah. Now I've never had challah before. That I can remember. But it looked so good... this was my ticket!


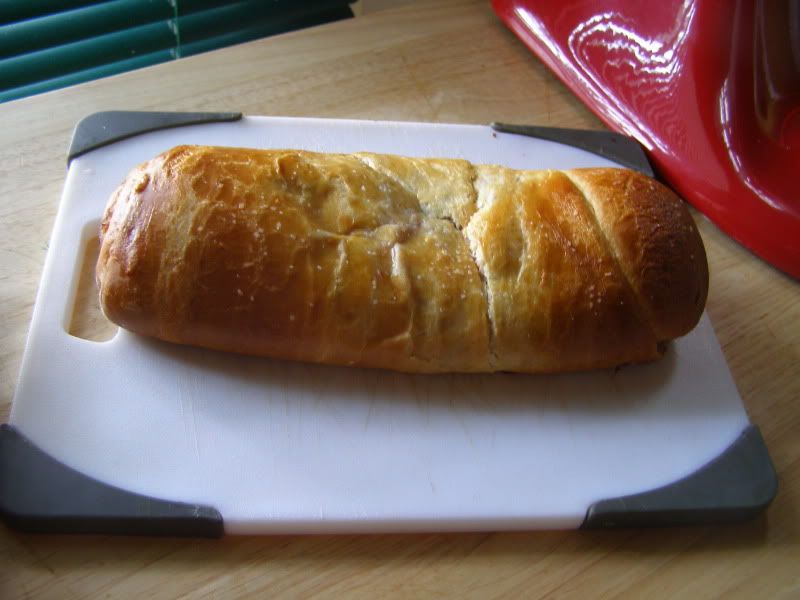
I mixed up the ingredients and leaving it to rise while I watched my Teenage Mutant Ninja Turtles dvds (the original tv series, mind you) and had an unfortunate little mishap. Despite the 90 degree weather we've been having, the one day I decide to make bread the temperature decides to drop to the 60s. Two hours later when I checked on the dough, it had definitely not doubled in size. I moved it to sit on my dinky little warm oven where it promptly rose the way a nice yeast bread should. Good little bread **pat, pat**. I didn't have time for the rolling process until today, but the recipe said I could leave the dough in the fridge for up to 5 days before I'd have to freeze it.


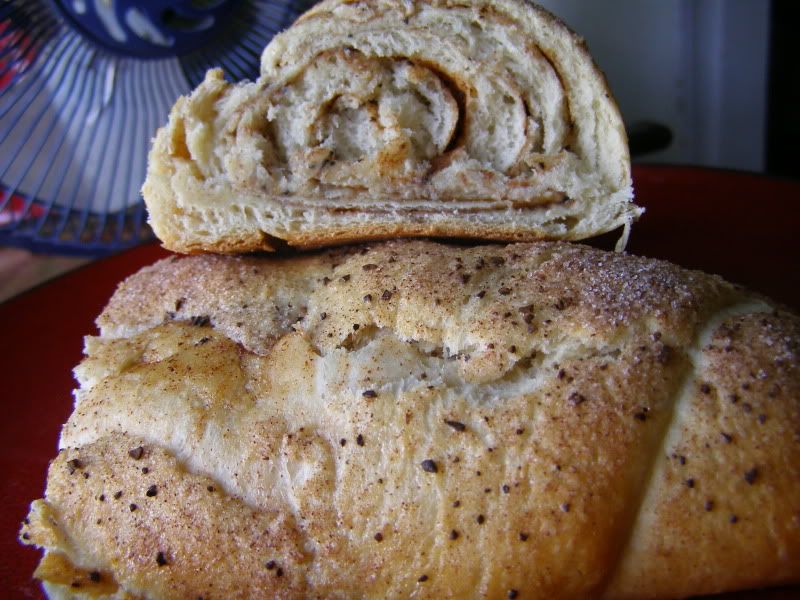
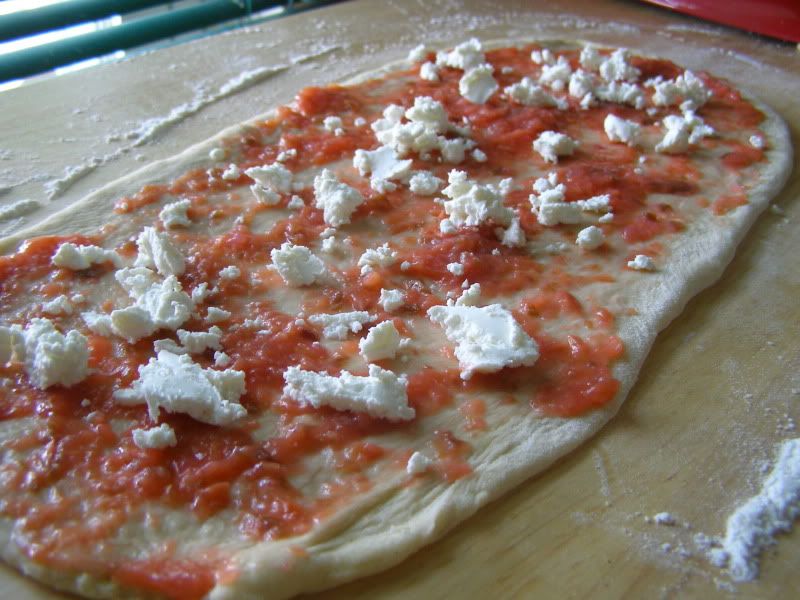
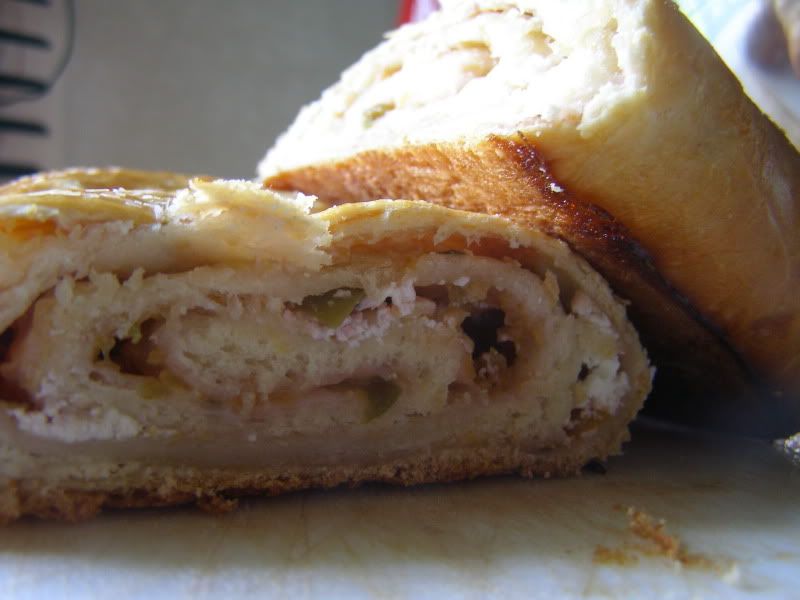
Now as far as the filling goes, I used three different options. Since I made only half of the recipe, I made some mini loaves. One with goat cheese and a jalapeno-peach "jam" I made up on the stove, one with cinnamon and coffee, and one cinnamon raisin. I had a few problems with the centers of the last loaves baking through, but humidity is a killer. Next time I'll just have to have the air on!


Challah Swirl Bread
(half recipe: makes 2 regular sized loaves)
1/2 cup plus 6 tablespoons lukewarm water
2 1/4 teaspoons active dry yeast
1 1/2 teaspoons kosher salt
2 large eggs, whisked
1/4 cup honey
1/4 cup melted butter (or canola oil)
3 1/2 cups all purpose flour

From here I just followed the directions posted on Sticky, Gooey, Creamy, Chewy (I linked the page a little earlier). She has great step by step instructions written up!

Tuesday, May 25, 2010

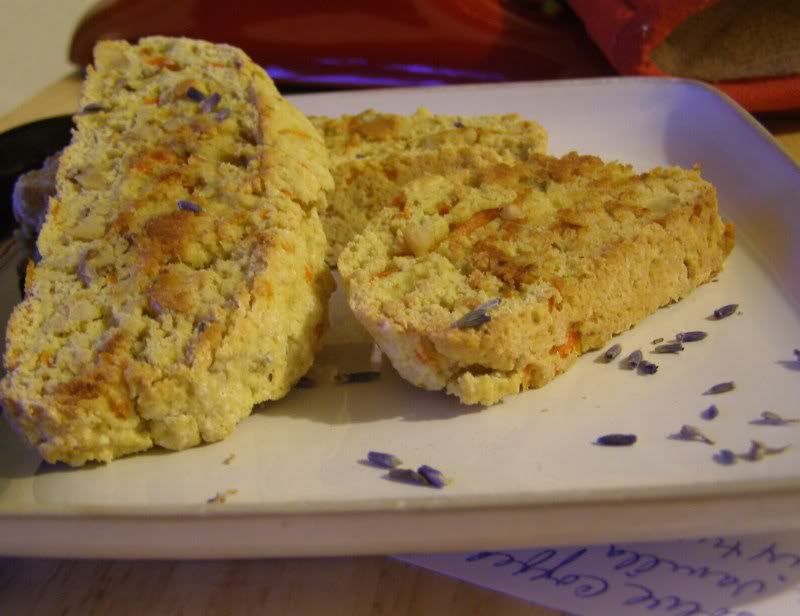
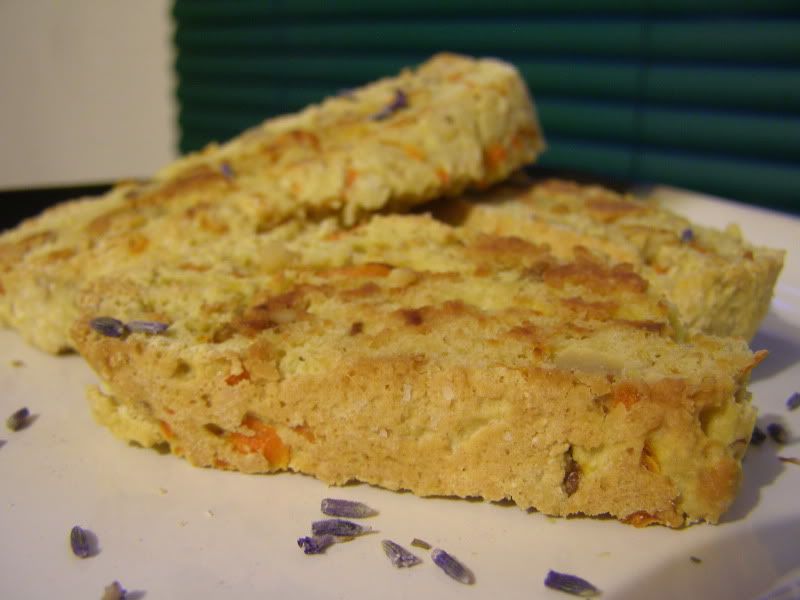
Lavender Carrot Biscotti... sort of...


The Italians certainly have it right: cookies for breakfast!

I am absolutely head over heels for biscotti. Every year for Christmas, a really close family friend makes her famous Cappucino Biscotti for my dad and I. We usually take turns hiding the bag so we can have the last delicious morsel.

Well it's not really Christmas, but I'm in the mood for some crunchy Italian treats. With the temperatures rising, I wanted to bake something a bit lighter tasting than the rich flavors of cocoa and coffee. I opted for a mix of carrot with lavender and a hint of ginger.


Well, the result was a little more scone-like, but without the butter! Next time perhaps I'll try adding in an egg white or using only egg whites to keep it less moist. The flavor is still awfully delicious, though!

Lavender Carrot Biscotti
2 cups all purpose flour
1/4 cup millet flour
1/3 cup walnut pieces
1/2 teaspoon baking powder
1/2 teaspoon salt
1 teaspoon ground ginger
Pinch of nutmeg
2 eggs
1 teaspoon almond extract
2 tablespoons very hot water
1/2 teaspoon lavender buds
2 medium carrots, roughly grated

Preheat oven to 325 degrees. Oil a cookie sheet liberally with canola oil and set aside. Place the lavender buds in the hot water and allow to soak for at least 10 minutes. In a large bowl, combine flours, walnuts, baking powder, salt, ginger and nutmeg. In mixer bowl using paddle attachment, add carrot, lavender mixture, extract and egg. Beat until well combined. Add flour and mix well. Switch to kneading hook and knead dough for about 2 minutes, or until the dough pulls away from sides of the bowl. Shape into a log on the cookie sheet. For smaller cookies, and probably crisper results, shape into 2 logs. Bake 40 minutes. Remove from oven and cool for 10 minutes. Slice on a slight diagonal and place flat on cookie sheet. Bake for 10 minutes or until desired crispness is achieved. Cool completely before storing.

Saturday, May 22, 2010

Have Some Seeds with your Chocolate


It hit the 90s here and I got to wear a tank top!

>insert chorus of angels here<

Needless to say, I'm a little pink. With this goulishly fair skin I burn at the drop of a hat. It's that time of year to stock up on SPF600! Hehe!

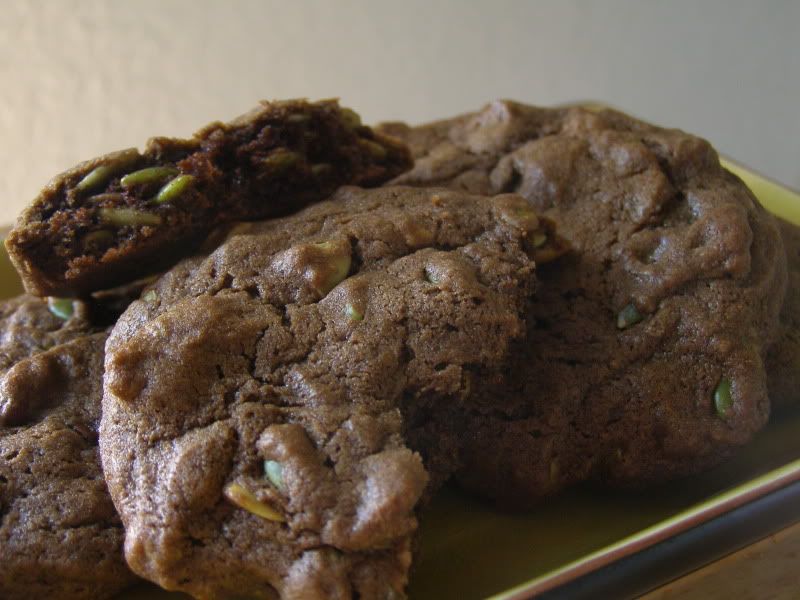
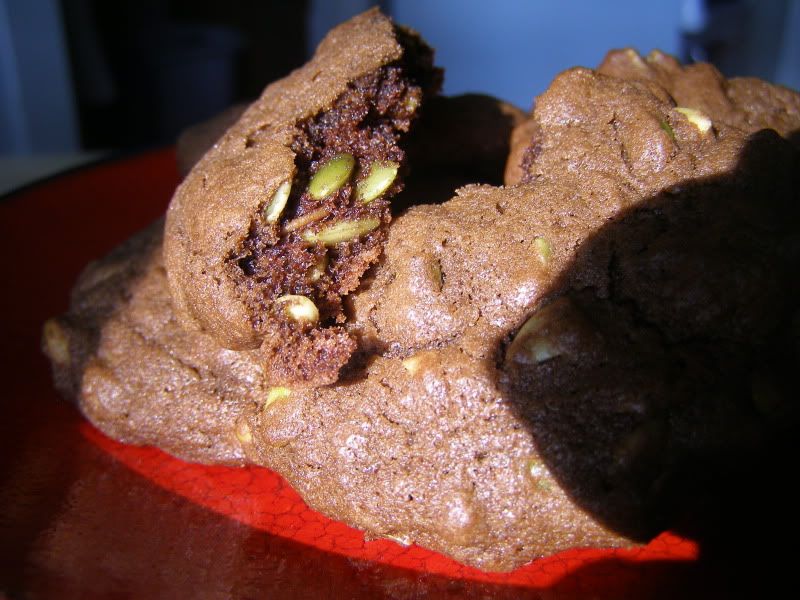
Even though the heat is climbing here, I still feel the need to bake. I wanted to make up for the fact that my oatmeal cookies turned out to be such a disaster last night. After all, Kyle is still waiting on a care package for this month! Unfortunately I misplaced the chocolate white chocolate macadamia nut cookie recipe he loved so much. I finagled a few recipes around to come up with a chocolate chocolate chip cookie recipe with raw pumpkin seeds thrown in.

please excuse the camera shadow... technical difficulties!

They're not too sweet, since I cut way down on the sugar, and just a touch on the salty side. Plus this is a combination you don't see every day!

Chocolate Pumpkin Seed Cookies
2 squares bittersweet chocolate, melted
1 cup all purpose flour
1 teaspoon baking soda
1/4 teaspoon salt
6 tablespoons unsalted butter, softened
1/2 cup granulated sugar
1 teaspoon molasses
1 egg
1/2 teaspoon almond extract
1/2 cup raw pumpkin seeds
1/2 cup semi-sweet chocolate chips

Preheat oven to 350 degrees, grease a cookie sheet and set aside. Mix flour, baking soda and salt together in a small bowl and set aside. In a large bowl, beat butter, molasses and sugar on medium speed until light and fluffy. Add eggs and almond extract, beating until well combined. Add chocolate and do the same. Gradually beat in flour mixture, then stir in seeds and chocolate chips. Drop by heaping tablespoons onto the greased cookie sheet. Bake 11-13 minutes, cool on the cookie sheet for 2 minutes before transferring them to a cooling rack. Makes about 15-16 cookies.

Friday, May 21, 2010

Trash Can Mistake Cookies

Want to know what can lift your spirits on a dreary Friday afternoon?

When your coworker gets a box of free cookies as big as your hand and SHARES them!
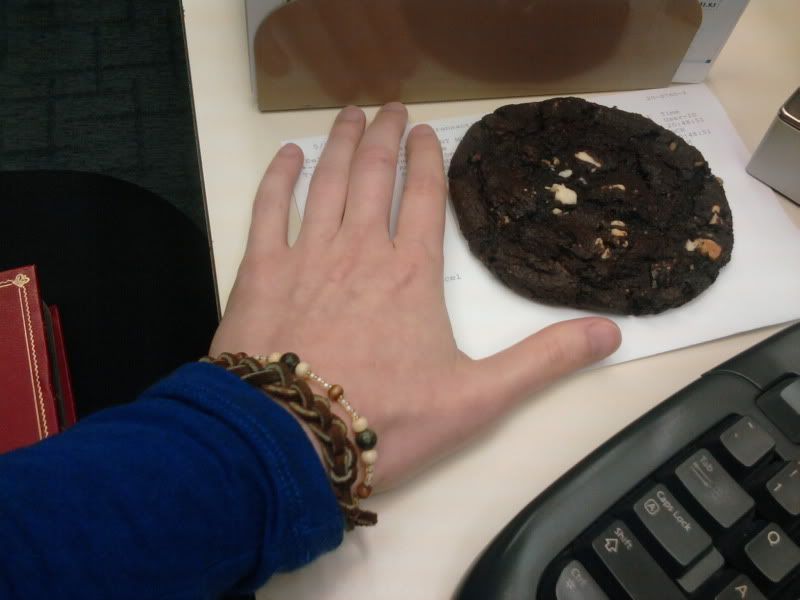


See? I wasn’t kidding! They were as big as my hand! And there were four stacks of six or seven cookies! There were dark chocolate with white chocolate and macadamia nuts, dark chocolate with mint, chocolate chip and butterscotch walnut.
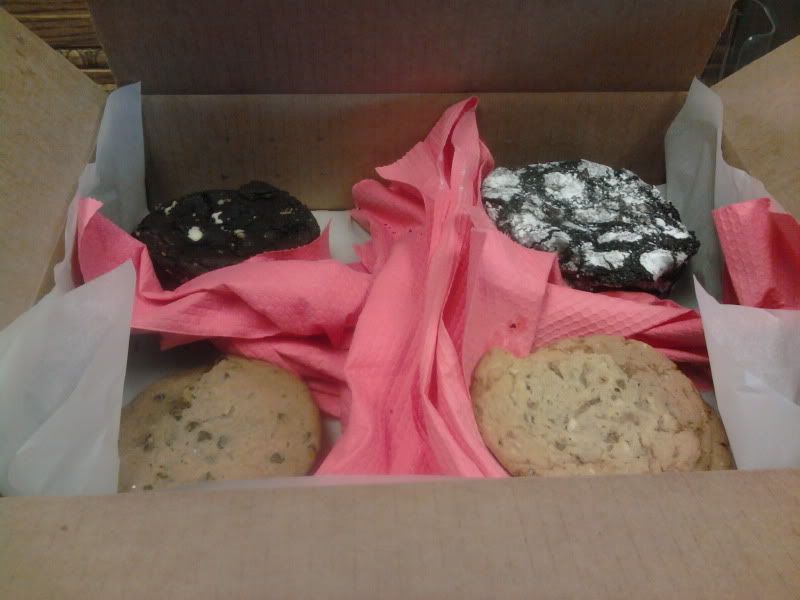


They were so incredibly yummy! Crispy and buttery, yet so soft and chewy… mmm…

Of course this sent my baking senses a-tingling. I wanted to create a cookie to send to Kyle. Think how much I’ll save on postage when he moves up here! I dug into my recipe box and found an oatmeal cookie from one of my mom’s friends. I only have steel cut oats and, as I found out, they don’t work the same as rolled oats.

I’ll post the real recipe here in case anyone wants to make her delicious oatmeal cookies. But first, I’ll tell you my crazy story!

Not wanting to make too many cookies, I quartered the recipe. I substituted those steel cut oats for rolled, like I mentioned before. I used brown rice flour instead of an all purpose, peanuts and added in some chopped up dried chili mango.
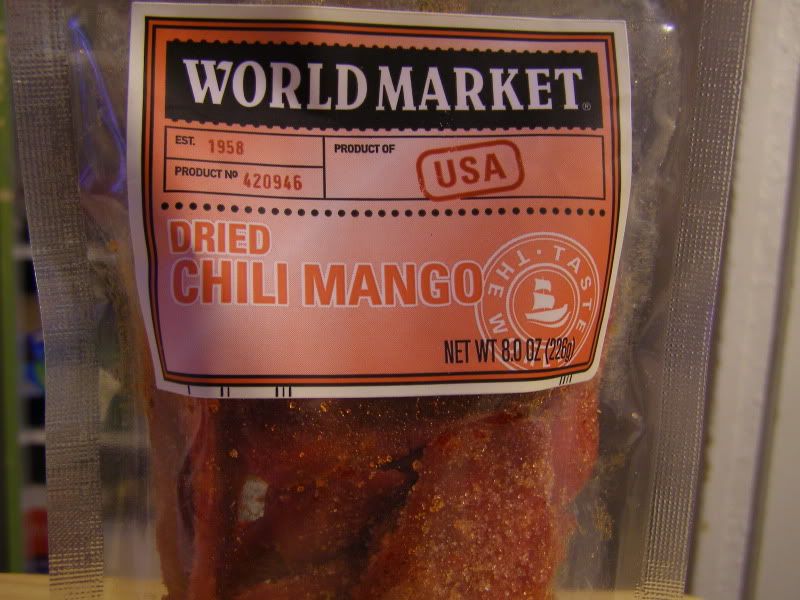


When I went to roll the mixture into balls, they wouldn’t stick together. Here’s where I started to fret a bit. I added in an egg. Oh no, one egg with a quarter of a recipe… that’s a recipe for cooked eggs with some oats inside. So I added 1/4 cup of millet flour. For good measure I tossed in 1/8 cup of butterscotch chips.
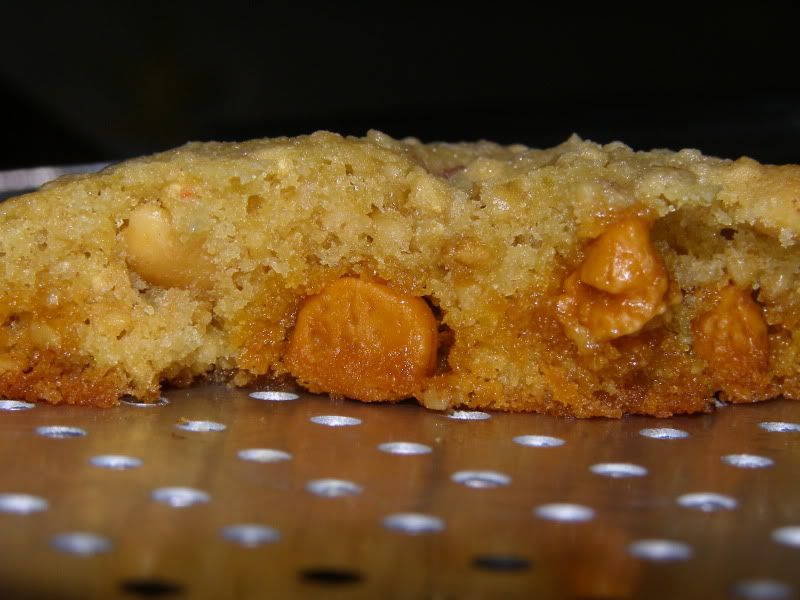


I dropped four heaping tablespoons onto my cookie sheet and started the baking process, excited to see what was going to happen!
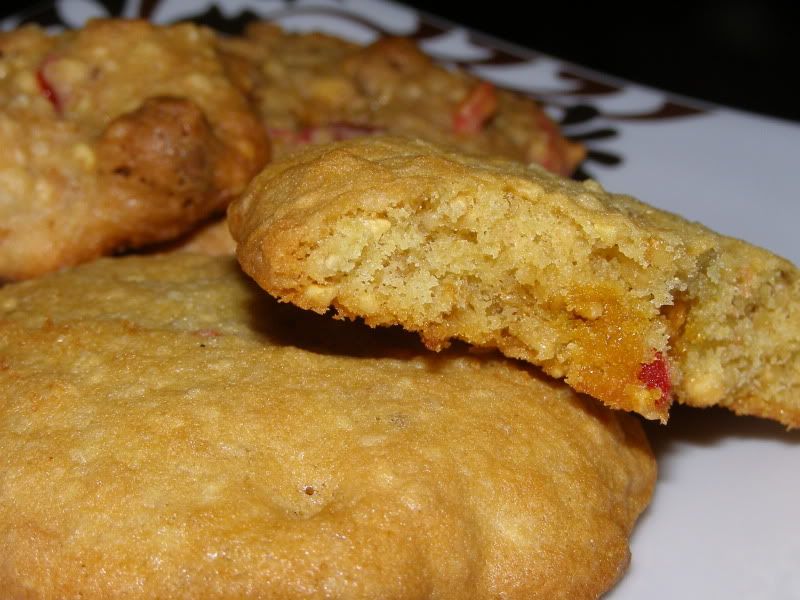


Well, they were a lot fluffier than I wanted them to be. Yep, that was the egg talking. So to the remaining batter I added 1/8 cup more chopped mango. At this point I’d already decided the cookies weren’t going to be what I wanted to mail out. I decided to mix it up a bit! I threw in 1/4 cup cocoa puffs, 1/4 cup raisin bran, 1 tablespoon fresh pineapple, and 1 tablespoon tahini.
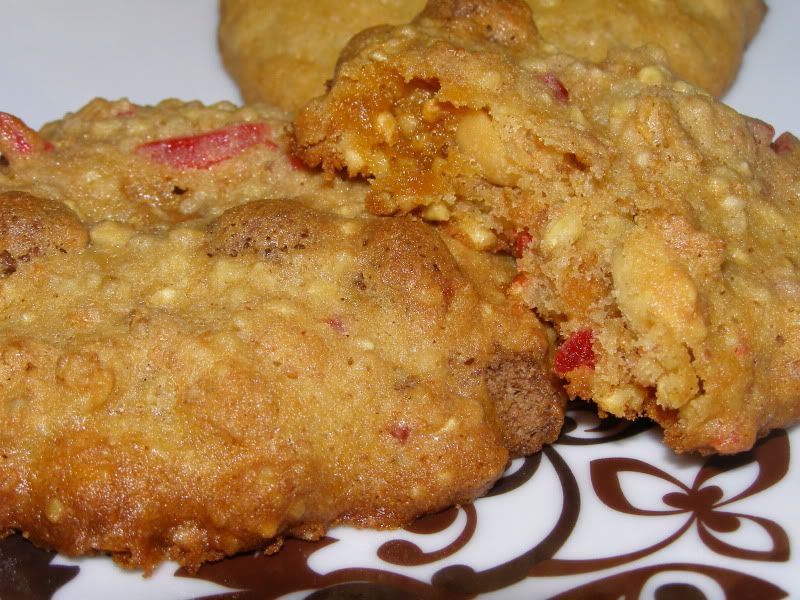


Yep I know it’s weird, but they actually tasted pretty good! Unfortunately they still weren’t the right consistency. Maybe next time I might just trust the recipe… Tee hee!

Carole’s Oatmeal Cookies
2 cups oatmeal
1 cup flour
1 teaspoon baking soda
2 sticks of butter or margarine (1 cup)
1 cup sugar
1/2 cup chopped nuts (optional)

Preheat oven to 350 degrees. In a mixer cream butter and sugar together. Add in baking soda and oatmeal. Stir in flour and nuts last. Roll dough into balls and place on cookie sheet. Bake for 10-12 minutes. Makes 3-4 dozen cookies.